7 Professional Headshot Tips for a Flawless Photo in 2025
Your professional headshot is your digital handshake, often making a first impression long before you do. It’s a critical component of your personal brand, instantly communicating your professionalism, confidence, and approachability on platforms like LinkedIn, company websites, and conference materials. A powerful headshot can open doors, while a subpar one might inadvertently suggest a lack of attention to detail, undermining your credibility.
This guide moves beyond generic advice to deliver actionable professional headshot tips that produce tangible results. We will dissect every crucial element, from setting up flattering lighting and choosing the right wardrobe to mastering camera angles and conveying the perfect expression. You will learn specific, practical techniques for each step.
Furthermore, we’ll explore how to elevate your final images through post-processing, including how innovative tools like PhotoFuse AI can generate polished, studio-quality results. By following these steps, you can create a headshot that not only looks professional but also powerfully represents your personal brand, ensuring your first impression is an impactful one.
1. Tip 1: Master Your Lighting for a Flawless Finish
Proper lighting is the non-negotiable foundation of any great headshot. It’s the primary factor that separates an amateur snapshot from a polished, professional portrait that commands attention. The core goal is to create soft, even illumination that flatters your facial features, eliminates harsh shadows, and accurately renders your skin tone. A well-lit photo conveys professionalism and confidence before a single word of your profile is even read.
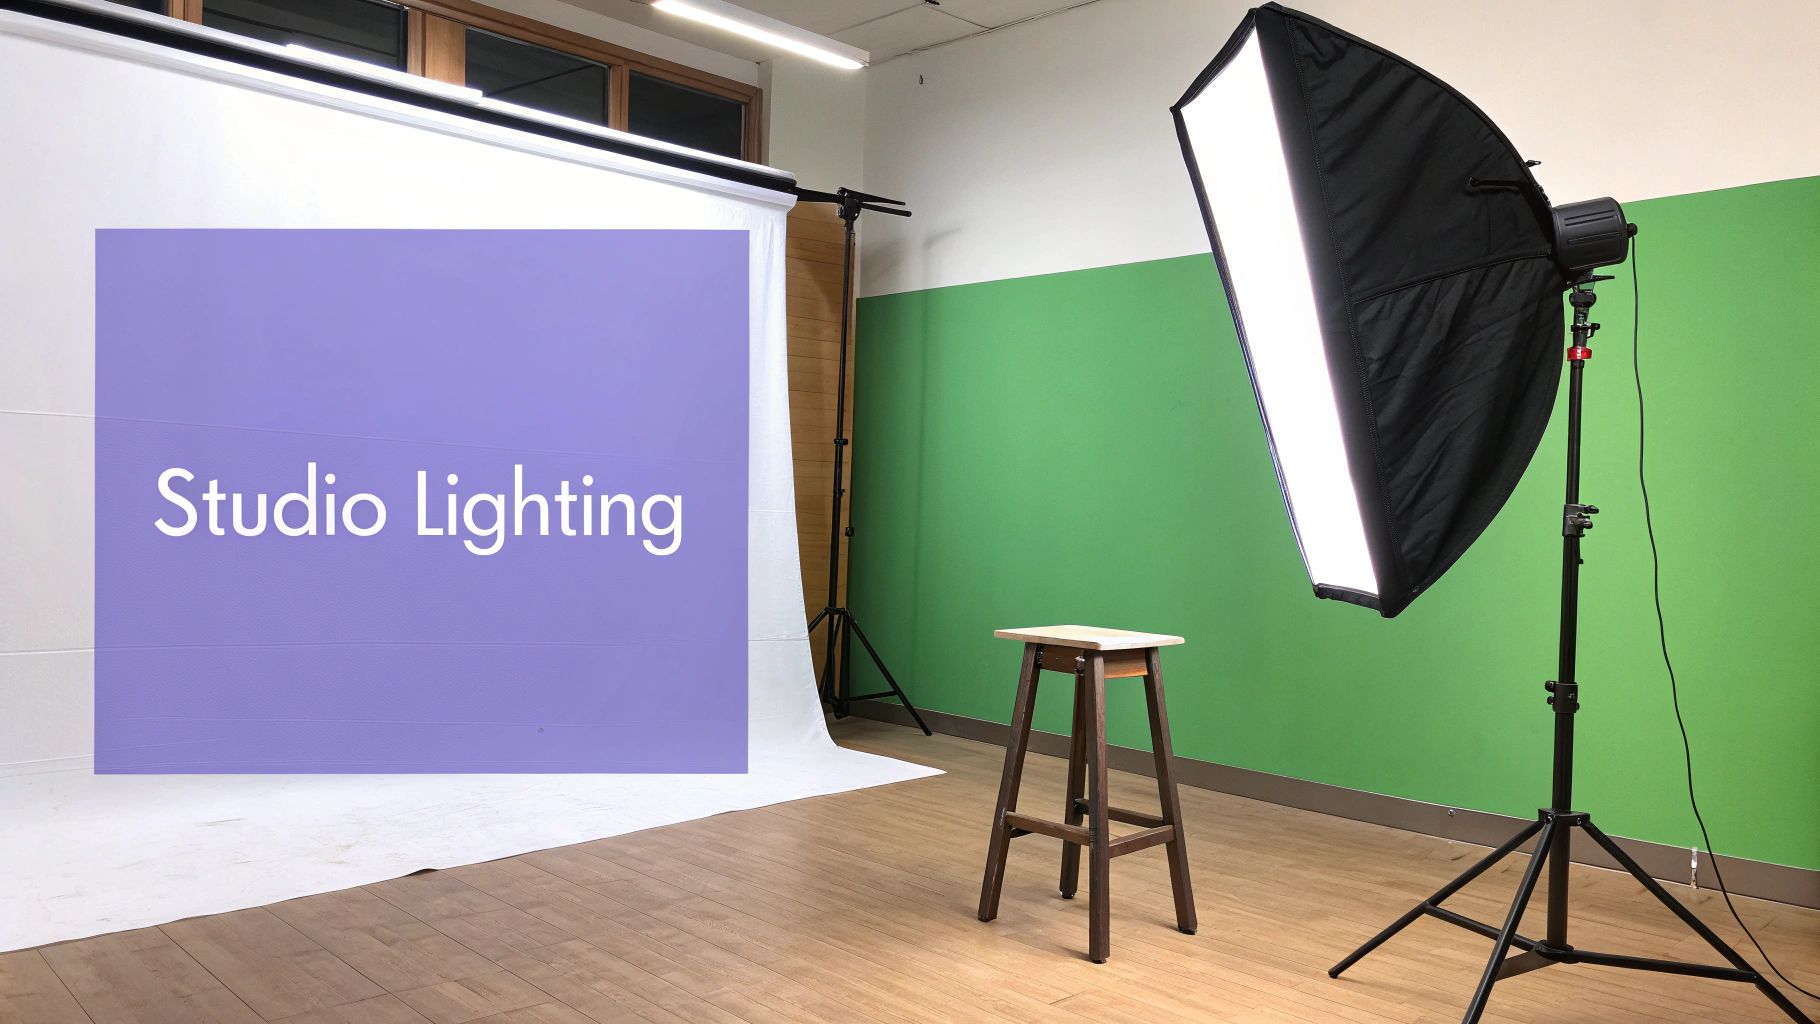
This principle is why professional photographers like Peter Hurley and corporate studios invest heavily in complex lighting setups. They typically use a three-point system: a key light (the main source), a fill light (to soften shadows), and a backlight (to separate you from the background). Understanding how to control and shape light is arguably the single most impactful skill you can learn for better professional headshots.
How to Implement Flattering Lighting
You don’t need a high-end studio to achieve excellent results. The key is to replicate professional principles using accessible tools.
- Harness Natural Light: The most powerful and free light source is a large window with indirect sunlight. Position yourself facing the window to let the soft, diffused light illuminate your face evenly. This setup works perfectly for corporate headshots or LinkedIn profile photos.
- The 45-Degree Rule: Position your main light source (whether it’s a window or a lamp) at a 45-degree angle to your face and slightly above eye level. This classic portrait technique, often called Rembrandt lighting, creates a subtle and flattering shadow that adds depth and dimension to your features.
- DIY Reflector: To soften shadows on the side of your face opposite the light source, use a simple reflector. A plain white foam board, a piece of cardboard covered in aluminum foil, or even just a white t-shirt held out of frame can bounce light back onto your face, creating a more balanced look.
- Avoid Overhead Lighting: Direct overhead lighting is the enemy of a good headshot. It creates deep, unflattering shadows under your eyes and nose, often called “raccoon eyes.” Always turn off any harsh overhead lights in the room you’re shooting in.
For those short on time or equipment, technology offers a powerful shortcut. AI-powered tools like PhotoFuse AI can analyze your existing photo and apply sophisticated lighting corrections, simulating a professional three-point lighting setup with just a few clicks. This is an excellent way to elevate a decent photo into a studio-quality headshot without the complex setup.
2. Eye Contact and Focus
Sharp, engaging eye contact is the soul of a professional headshot. It is the element that forges an immediate connection with the viewer, communicating confidence, trustworthiness, and approachability. The eyes must be the sharpest point in the image; perfect focus ensures they appear bright, alert, and full of life, drawing the audience in and holding their attention.
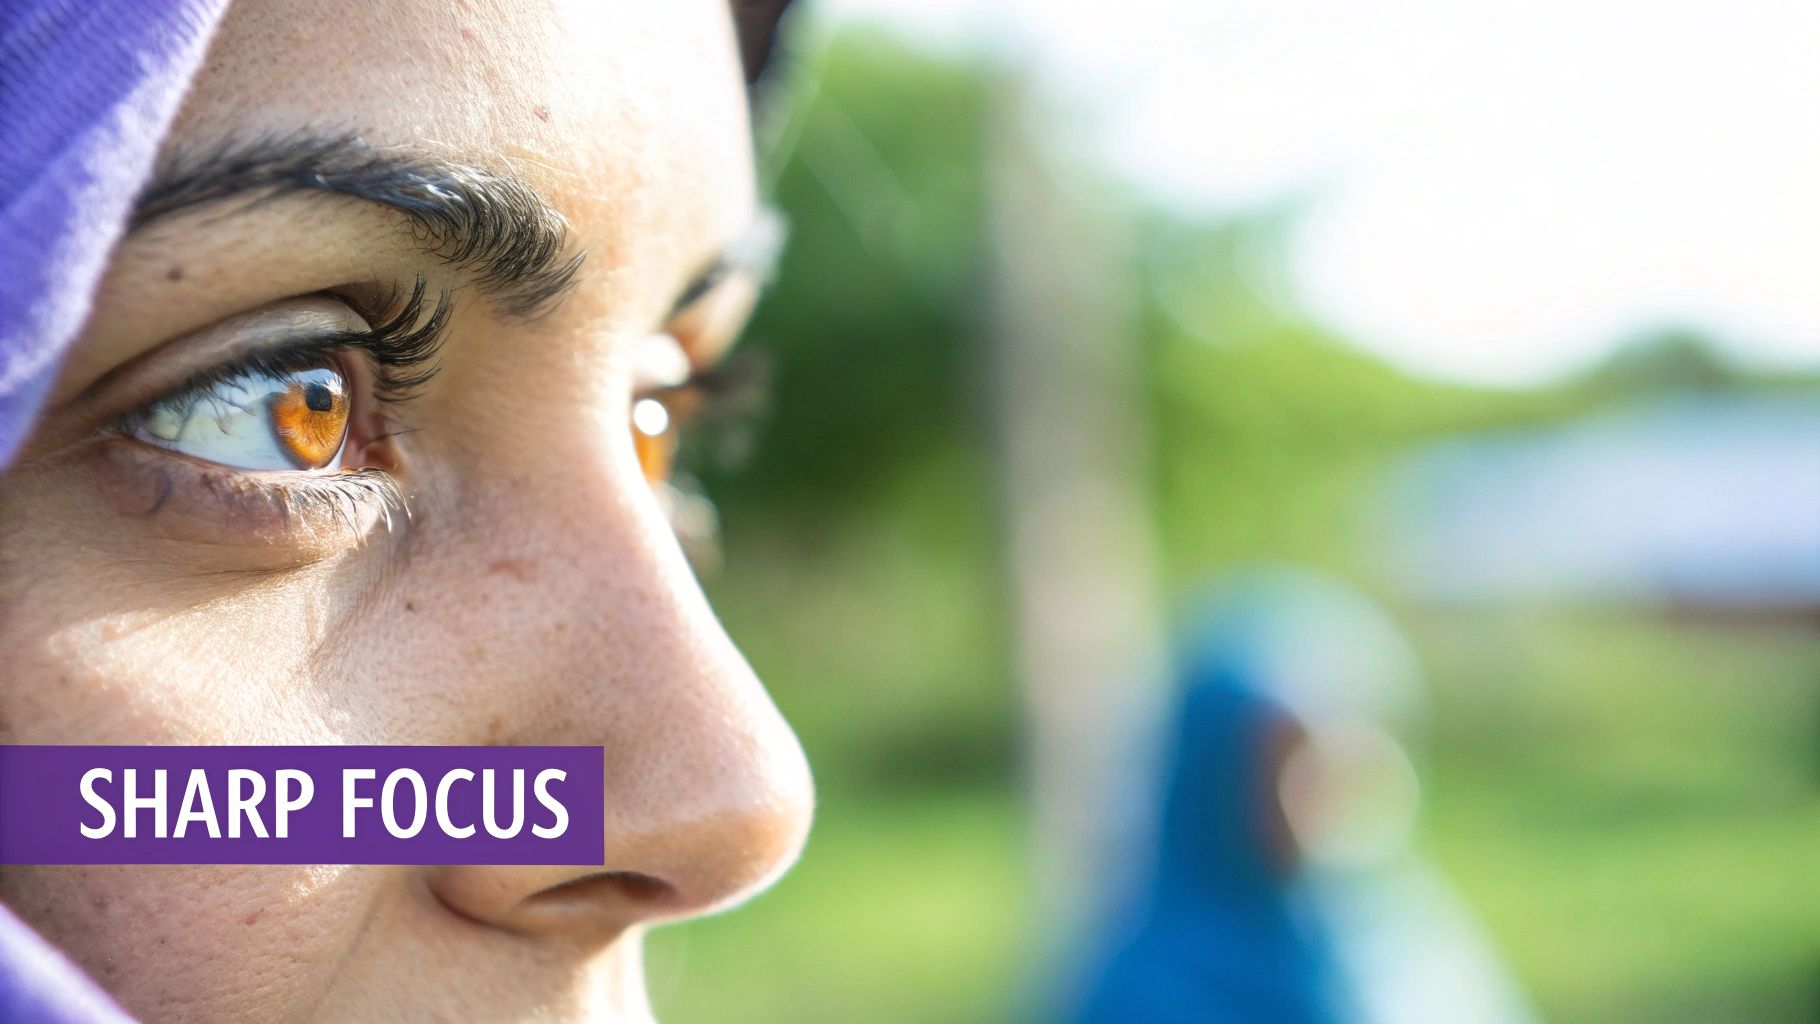
This principle is a cornerstone for photographers like Peter Hurley and is heavily emphasized in LinkedIn photography guidelines and by professional branding experts. A headshot where the eyes are soft or out of focus feels distant and unprofessional. Whether for a CEO’s annual report portrait or a real estate agent’s marketing materials, nailing the eye contact and focus is critical for creating a powerful and memorable first impression.
How to Implement Powerful Eye Contact and Focus
Achieving a compelling gaze involves both technical camera settings and skillful direction of the subject.
- Focus on the Closest Eye: A fundamental rule in portrait photography is to set your focus point on the eye closest to the camera. This creates a natural and pleasing sense of depth and ensures the most critical feature is tack sharp.
- Use Single-Point Autofocus: For maximum precision, switch your camera to single-point autofocus (AF) mode. This allows you to manually select the exact focus point, placing it directly on the subject’s iris rather than letting the camera guess.
- Capture the “Catchlights”: Ensure your lighting creates small, bright reflections in the eyes, known as catchlights. These tiny specks of light make the eyes look vibrant and alive. A large window or a softbox placed correctly will naturally produce them.
- Encourage Authentic Expression: A genuine expression starts in the mind. Encourage the subject to think of something positive or someone they love. This often creates a subtle, natural crinkling around the eyes, known as a “squinch,” which reads as genuine confidence.
If you have a photo with great potential but slightly soft focus, you don’t have to discard it. AI tools such as PhotoFuse AI can intelligently sharpen key facial features, enhancing the clarity of the eyes to bring a disengaged photo to life. This can be a lifesaver for rescuing an otherwise perfect shot where the focus was just slightly off.
3. Wardrobe Selection and Styling
Your wardrobe is a powerful communication tool in a professional headshot. The clothing you choose does more than just cover you; it frames your face, conveys your industry’s standards, and projects a specific personal brand. The goal is to select an outfit that enhances your professional image and directs the viewer’s focus to your face, not to distracting patterns or ill-fitting attire. Strategic wardrobe choices ensure your headshot communicates competence and authority.

This concept is heavily emphasized by corporate image consultants and executive coaches who understand that visual branding is critical. The right clothing can instantly align your image with industry expectations, whether that means a classic navy blazer for a financial advisor or smart-casual attire for a tech leader. A well-chosen outfit ensures your headshot is both timeless and contextually appropriate.
How to Implement Strategic Wardrobe Choices
Selecting the perfect outfit doesn’t require a complete wardrobe overhaul. It’s about making deliberate choices that support the overall goal of your headshot.
- Prioritize Solid Colors: Busy patterns, intricate designs, and loud prints can divert attention from your face, which should always be the focal point. Opt for solid, rich colors like navy, forest green, maroon, or charcoal gray, which photograph well and convey professionalism. Jewel tones are often more flattering on camera than pastels.
- Consider Your Industry Norms: Your outfit should reflect the standards of your profession. A partner at a law firm would benefit from a classic suit, while a graphic designer has more freedom for creative, yet polished, attire. A healthcare professional might even opt for clean, pressed scrubs to project expertise in their specific field.
- Ensure a Perfect Fit: Poorly fitting clothes can undermine your professional image. Make sure your outfit is well-tailored, clean, and wrinkle-free. A blazer that fits perfectly across the shoulders or a blouse that drapes correctly makes a significant difference in the final photo.
- Keep Accessories Minimal: Avoid large, distracting jewelry, oversized logos, or anything that might date your photo quickly. The best professional headshot tips always emphasize timelessness. Simple, classic accessories are best.
If you’re unsure which outfit works best or want to experiment with different professional looks, AI tools provide an incredible advantage. Services like PhotoFuse AI allow you to upload a single photo and generate headshots featuring various outfits, from business suits to casual blazers. This lets you visualize different styles and select the one that best represents your personal brand without needing multiple wardrobe changes during a shoot.
4. Choose a Background That Reinforces Your Brand
The background of your headshot is more than just a backdrop; it’s a storytelling element that provides context and reinforces your professional identity. The right environment should complement you without competing for attention, subtly communicating your industry, role, and personal brand. The goal is to choose a setting that enhances the portrait and aligns with your professional narrative, ensuring the focus remains squarely on you.

This principle is heavily emphasized by personal branding experts and corporate photographers who understand that context matters. A sterile, plain background might be perfect for a corporate executive or a lawyer, conveying seriousness and focus. Conversely, a softly blurred office environment can signal collaboration and approachability for a team manager, while a natural outdoor setting might suit a wellness coach or creative professional. The background choice is a strategic decision that shapes perception.
How to Select and Implement the Right Background
Choosing the ideal background is about balancing professionalism with personality. Your goal is to create a clean, intentional setting that elevates your image.
- Keep it Simple and Uncluttered: A busy or distracting background pulls focus away from your face. Opt for solid colors (gray, white, or navy are classic choices), textured walls, or a subtly blurred office or outdoor scene. The less clutter, the more professional the result.
- Ensure Subject-Background Separation: Use a shallow depth of field (a low f-stop on a DSLR) to blur the background. This technique makes you “pop” from the environment, creating a polished, three-dimensional look that is a hallmark of professional headshot tips.
- Match the Background to Your Industry: Your background should make sense for your field. A real estate agent might use a modern home interior, a software developer could use a clean office space, and a graphic designer might opt for a creative studio setting with interesting textures.
- Consider Brand and Wardrobe Colors: If your company has specific brand colors, incorporating a subtle hint of them in the background can create a cohesive look. Also, ensure your background color complements your outfit rather than clashing with it or causing you to blend in.
If your original photo has a distracting or unsuitable background, you don’t need a reshoot. AI headshot generators like PhotoFuse AI excel at replacing and generating new backgrounds. You can instantly place yourself in a professional office, in front of a neutral studio backdrop, or in any other setting that aligns with your career goals, giving you complete creative control.
5. Tip 5: Nail Your Camera Angle and Positioning
The angle and position of the camera can dramatically alter the perception of your headshot, influencing everything from your perceived confidence to your approachability. The right angle accentuates your best features and projects a powerful, professional image, while the wrong one can inadvertently create an unflattering or unprofessional look. The goal is to find a position that elongates the neck, defines the jawline, and engages the viewer directly.
This principle is a cornerstone of portrait photography, championed by experts like Peter Hurley who teach that subtle shifts in camera height and angle can make or break a shot. A photo taken from below can make a person seem imposing or create the dreaded double chin, while a shot from too high can appear diminutive. The sweet spot is almost always at or just above eye level, establishing a direct and equal connection with the person viewing your photo.
How to Implement Ideal Camera Positioning
Finding your most flattering angle is a simple process of experimentation. You don’t need a professional photographer to guide you if you follow these fundamental professional headshot tips.
- Start at Eye Level: The most universally flattering and standard position is to place the camera lens directly at your eye level. This creates a sense of direct engagement and equality, perfect for corporate headshots and LinkedIn profiles.
- Shoot Slightly Above: For a slightly more slimming effect that defines the jawline, position the camera just above your eye line and angle it down. This forces you to look up slightly, which tightens the skin under the chin and naturally makes the eyes appear larger and more engaging.
- Push Your Forehead Forward: A classic trick from portrait photographers is to have the subject gently push their forehead towards the camera. While it feels unnatural, this “turtling” motion elongates the neck and creates a sharp, defined jawline, eliminating any softness under the chin.
- Avoid Extreme Angles: Unless you’re aiming for a highly stylized, creative portrait, avoid shooting from very low or very high angles. These perspectives distort features and are rarely suitable for a professional context.
For those who have already taken photos but aren’t satisfied with the angle, advanced tools can offer a fix. AI headshot generators like PhotoFuse AI can analyze an image and subtly adjust perspective and crop to optimize the composition, turning a decent snapshot into a polished and perfectly positioned professional headshot.
6. Convey Confidence with Expression and Emotion
Your facial expression is the soul of your headshot; it communicates your personality, confidence, and approachability in a single glance. A technically perfect photo can fall flat if the expression feels forced, stiff, or disconnected. The goal is to capture a look that is both genuine and aligned with your professional brand, making viewers feel they already know and trust you. This element is what transforms a simple picture into a powerful personal branding tool.
This focus on authentic expression has been popularized by renowned headshot photographers like Peter Hurley, who developed techniques to elicit genuine micro-expressions from subjects. The principle is that your expression should be an intentional choice that reflects your industry and career goals. For example, a lawyer might aim for an expression of quiet confidence and trustworthiness, while a creative director might project innovative energy and openness.
How to Master Your Expression
Achieving a natural look on command can be challenging, but with a bit of practice, you can capture the perfect emotion for your professional headshot.
- Consider Your Audience and Industry: Tailor your expression to meet industry expectations. A warm, open-mouthed smile is often perfect for professionals in sales or customer service. In contrast, a closed-mouth smile or a more serious, confident look might be better suited for roles in finance, law, or academia.
- Practice in the Mirror: Before your shoot, practice different expressions. Pay attention to how small changes, like slightly raising your eyebrows or engaging your eyes, can completely alter your look. This is one of the most effective professional headshot tips for building confidence in front of the camera.
- Think of a Happy Memory: To create a genuine smile that reaches your eyes (a “Duchenne smile”), think about a person, a place, or a funny experience that truly makes you happy. This internal trigger will produce a much more authentic and engaging expression than simply saying “cheese.”
- Take Breaks to Reset: Holding a smile or a serious pose can cause your facial muscles to tense up. Take frequent breaks between shots to relax your face, laugh, or make a silly expression to reset your muscles and keep your look fresh and natural.
If you’ve taken a photo but aren’t satisfied with the expression, you don’t need a complete reshoot. AI tools like PhotoFuse AI can subtly adjust facial expressions on existing photos, allowing you to fine-tune your look from “serious” to “approachable” or add a hint of a smile to better align with your professional goals.
7. Post-Processing and Retouching
Nearly every professional headshot you see has undergone post-processing. This crucial final step enhances the raw image, corrects minor imperfections, and ensures the final product is polished and impactful. The goal is not to alter your appearance but to present the most refined version of yourself by adjusting elements like color, brightness, and skin texture. A tastefully retouched headshot conveys meticulous attention to detail and professionalism.
This practice is standard for all professional headshot photographers and corporate imaging specialists. They use software to perform subtle adjustments, from basic color correction and sharpening to more detailed work like skin smoothing and teeth whitening. Understanding the balance between enhancement and over-editing is one of the most important professional headshot tips for achieving a natural, yet elevated, result.
How to Implement Subtle Retouching
You don’t need to be a professional retoucher to make meaningful improvements. The key is to focus on subtle enhancements that boost quality without looking artificial.
- Prioritize Color and Tone: Start by adjusting the exposure, contrast, and white balance. The goal is to ensure your skin tone looks natural and the colors in your attire are accurate. This is the foundation of a clean, professional look.
- Subtle Skin Smoothing: The objective is to reduce temporary blemishes or slightly soften harsh lines, not to erase all texture. Overly smooth, plastic-looking skin is a common mistake that screams “amateur.” The goal is realism and refinement.
- Teeth and Eye Whitening: A slight whitening of the teeth and the whites of the eyes can make a photo look brighter and more vibrant. Use this effect sparingly; a subtle lift is far more effective than an unnaturally bright white.
- Remove Distractions: Check for and remove distracting elements like stray hairs, lint on clothing, or imperfections in the background. A clean image keeps the focus entirely on you.
For professionals who want studio-grade results without mastering complex software, AI is a powerful solution. Tools like PhotoFuse AI automate the retouching process, applying sophisticated adjustments like color correction and skin smoothing with an understanding of natural aesthetics. This allows you to achieve a polished, professional headshot that is ready for LinkedIn or your corporate profile in minutes.
7-Key Professional Headshot Tips Comparison
| Aspect | Professional Lighting Setup | Eye Contact and Focus | Wardrobe Selection and Styling | Background and Environment | Camera Angle and Positioning | Expression and Emotion | Post-Processing and Retouching |
|---|---|---|---|---|---|---|---|
| Implementation Complexity | High – requires equipment and setup time | Medium – needs precise focusing and direction | Medium – involves styling knowledge and choices | Medium – selecting/arranging background | Medium – requires photographer skill | Medium – needs coaching and subject comfort | Medium to High – requires editing expertise |
| Resource Requirements | Multiple lighting tools, studio space, time | Camera with accurate autofocus, skilled subject | Wardrobe variety, styling help | Background materials or location access | Skilled photographer and adjustable equipment | Skilled direction, time for multiple takes | Editing software, experienced retoucher |
| Expected Outcomes | Polished, even illumination; professional look | Sharp eyes that engage viewers; confidence | Enhanced credibility; distraction-free attire | Clean, professional context; focus on subject | Flattering angles; confident and approachable | Genuine, approachable expressions | Polished, natural enhancement; consistent quality |
| Ideal Use Cases | Studio headshots, corporate portraits, actors | Business portraits, CEO photos, marketing | Industry-specific branding, professional images | Corporate or creative portraits needing context | Formal and approachable images for profiles | Customer-facing professionals, marketing shoots | Final image polishing for all professional uses |
| Key Advantages | Consistency, shadow elimination, natural skin tones | Builds connection, enhances branding | Supports brand; flatters; timeless | Maintains focus, adds context without distraction | Enhances confidence and approachability | Builds trust; memorable and distinctive | Corrects imperfections; meets industry standards |
Bringing It All Together: Your Blueprint for the Perfect Headshot
Creating a standout professional headshot is a strategic process, but with the right blueprint, it becomes an achievable goal rather than a daunting task. We have journeyed through the seven essential pillars that elevate a simple picture into a powerful branding tool. By focusing on these core areas, you are no longer just hoping for a good photo; you are engineering a great one. Each element, from the nuances of lighting to the subtle cues of your expression, works in concert to build a cohesive and compelling narrative about who you are professionally.
Remember that your headshot is your digital ambassador. It works for you 24/7 on platforms like LinkedIn, your company website, and in your marketing materials. It is often the very first point of contact someone has with your personal brand, making it a critical asset in your career toolkit. A powerful headshot conveys confidence, approachability, and competence before a single word is read.
Your Actionable Blueprint Summarized
To recap, your path to a perfect headshot involves mastering these key areas. Think of this as your final checklist before you step in front of the camera or upload your photos to an AI generator:
- Lighting and Focus: Ensure your face is evenly lit with soft light to eliminate harsh shadows. Your eyes must be the sharpest point of focus, creating a direct and engaging connection with the viewer.
- Wardrobe and Background: Choose attire that reflects your industry and personal brand, avoiding distracting patterns or logos. Select a background that is clean and non-distracting, adding to the professional feel without overwhelming the subject, which is you.
- Posing and Expression: Use angles, like the classic 45-degree turn, to create a dynamic and flattering posture. Your expression should be genuine and appropriate for your field, whether that’s a confident smile or a thoughtful, serious look.
- Polishing the Final Image: Use post-processing to correct minor imperfections, enhance colors, and ensure a polished finish. This final step bridges the gap between a good photo and a truly professional one.
These professional headshot tips are not just isolated rules; they are interconnected principles that define quality. By investing the thought and effort to get these details right, you ensure your first impression is not just good, but exceptional and memorable. Whether you hire a photographer or leverage cutting-edge technology, this knowledge empowers you to take control of your visual identity and present the best possible version of yourself to the world.
Ready to put these professional headshot tips into action without the hassle of a photo shoot? Create dozens of studio-quality, perfectly retouched headshots in minutes with PhotoFuse AI. Simply upload a few of your existing photos and let our AI do the heavy lifting, delivering professional results that will elevate your personal brand. Try PhotoFuse AI today and see the difference for yourself.
Ready to Try These Advanced Techniques?
Sign in to PhotoFuse AI and start experimenting with these advanced features today!